Although I've read that there ARE no accidents in art, I beg to differ. Quite often, I go into my home studio, pick up a paintbrush and begin creating paintings that surprise me and probably can't be replicated again (at least, not by me).
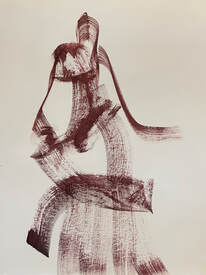
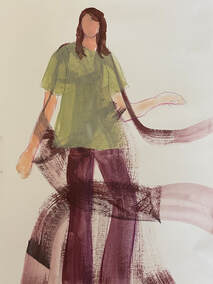
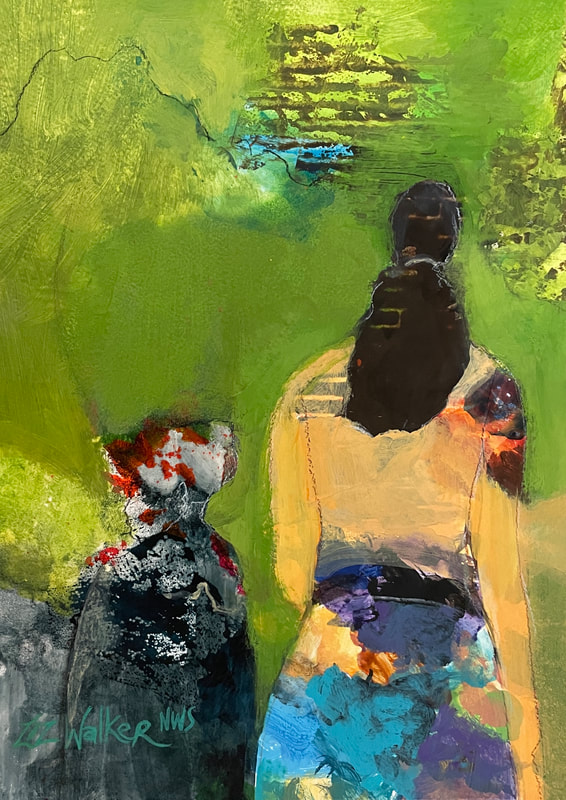
Like a musician, I like to "riff" on things---namely, shapes or colors that are already on the paper. I sometimes drag a brush loaded with acrylic paint across paper and create directional drybrush lines. Then, I look at the paper to see if I can build subject matter on top (as in my painting "Burgundy Pants" below).
Like a musician, I like to "riff" on things---namely, shapes or colors that are already on the paper. I sometimes drag a brush loaded with acrylic paint across paper and create directional drybrush lines. Then, I look at the paper to see if I can build subject matter on top (as in my painting "Burgundy Pants" below).
 |  |
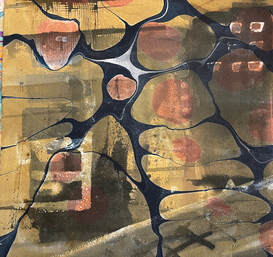
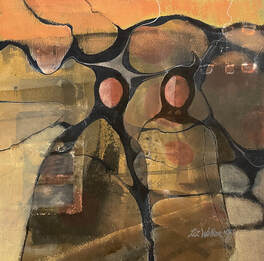
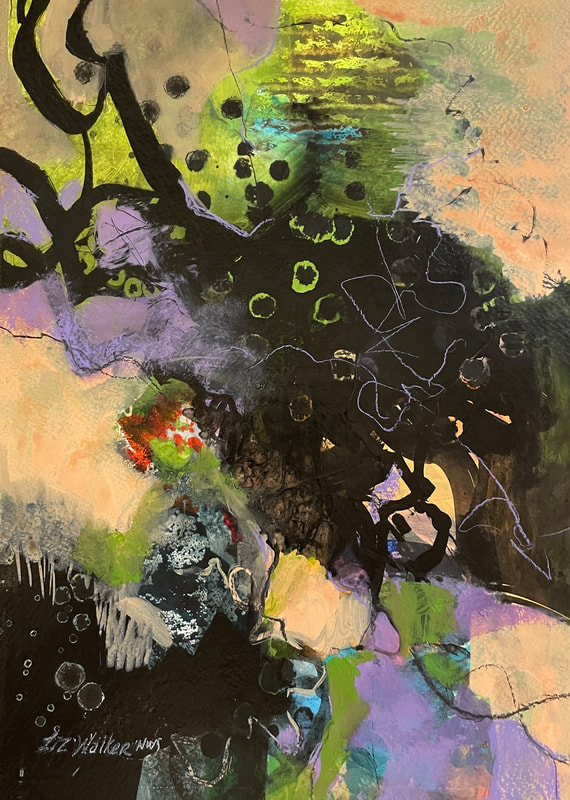
Other times, I marble over an old watercolor painting, and then once it's dry, I take it into the studio and react to what is there on the paper by extending a line, a shape, a color, or opaquely painting OVER much of the marbled pattern. I never know what odd figures are going to emerge from these sessions but in the case of "Unbroken Bonds #1" (below), I ended up with pointy headed figures. I have no idea where this idea came from, but I rather like it.
 |  |
When I work in this way, I'm not worrying about the outcome, and I give myself the freedom to play. Because of this, I often end up with a spontaneous painting that I had no idea I could make! It's a good reminder that I don't need to aim to create a "masterpiece" (as if I could wish that into existence); I just need to show up, get to work, and see what happens.
 RSS Feed